St. Augustine's Clear Choice in Color!
Northeast Florida's Leading Residential Painting Contractor
904-540-5246
How do you repair holes in walls?
Holes, like mistakes, happen. The interior walls of homes and businesses are a regular source of needed repair. At Anastasia Painting we pride ourselves in helping you maintain the highest level of value and enjoyment for your investment by meeting all your interior wall needs. Fixing dents, cracks, popped nail heads, small and large holes are straightforward home repairs.
How to repair small holes from screws or nails
Small holes from nails and screws are routine repairs and simple to fix.
Needed materials:
• Lightweight spackle
• Putter knife
• Sandpaper
• Paint
Using your finger or a putty knife, small holes can easily be filled with a lightweight spackle. Simply “push” the material into the hole so it is flush with the wall, wiping the edges. Allow it to dry, typically 15-30 minutes depending on the putty brand. Once fully dry, using a small grit sandpaper lightly sand in circular motion until smooth. Wipe away any dust. Paint.
How to Repair Popped Nail Head
What causes a popped nail head? A popped nail head is often seen with newer construction. It happens when a nail is no longer fully secure in the wall stud.
Materials Needed:
• Drywall Screws
• Rubber Mallet
• Lightweight spackle
• Putter knife
• Sandpaper
• Paint
1-2 inches above the nail pop, insert a nail screw until it is just below the surface of the drywall. Using a rubber mallet hit the nail pop carefully so you do not cause any damage to the wall. Using a lightweight spackle cover the screw and the previous nail pop. Allow to dry; typically, 15-30 minutes depending on the manufacturer. Sand with a small grit sandpaper. Wipe any removing dust. Paint.
How to Repair a Drywall Crack
Drywall cracks sometimes with age and settling. Repairing interior wall cracks is a routine home repair.
Materials Needed:
• Utility knife
• Putty Knife
• Lightweight Spackle
• *self-adhesive fiberglass drywall tape
• *Joint compound
Using a utility knife, clear out the dust and debris from the crack. Once cleared, using your finger or a putty knife and a lightweight spackle fill the crack. Allow to dry, typically 15-30 minutes depending on the manufacturer. Once completely dry, using a fine grit sandpaper and a circular motion, sand the area until smooth. Wipe clean. Paint.
*For cracks larger than ½ inch wide: Cover crack with self-adhesive fiberglass drywall tape. Cover tape with a thin layer of joint compound. Allow to dry thoroughly, typically 24 hours depending on the manufacturer. (In some cases, you may need 2 layers of joint compound. It is imperative to allow each layer to dry thoroughly before moving onto the next step) Once thoroughly dry, sand with a fine grit sandpaper. Wipe away any debris. Paint.
How to repair small hole in a wall
Needed Materials:
• Drywall Repair Kit
Most drywall repair kits include a 4 in x 4 in self-adhesive mesh patch. Cover the hole with the patch. Using a putty knife or tool apply a layer of lightweight spackle in an X pattern blending the edges with the wall. Allow the spackle to dry according to the manufacturer’s direction. Apply a second coat if needed. Allow the second layer to dry thoroughly. Using a low grit sandpaper in a small circular pattern, sand the area till smooth. Wipe away any remaining dust. Paint.
*Remember that paint fades over time, it may be necessary to repaint the entire wall for the paint to match.
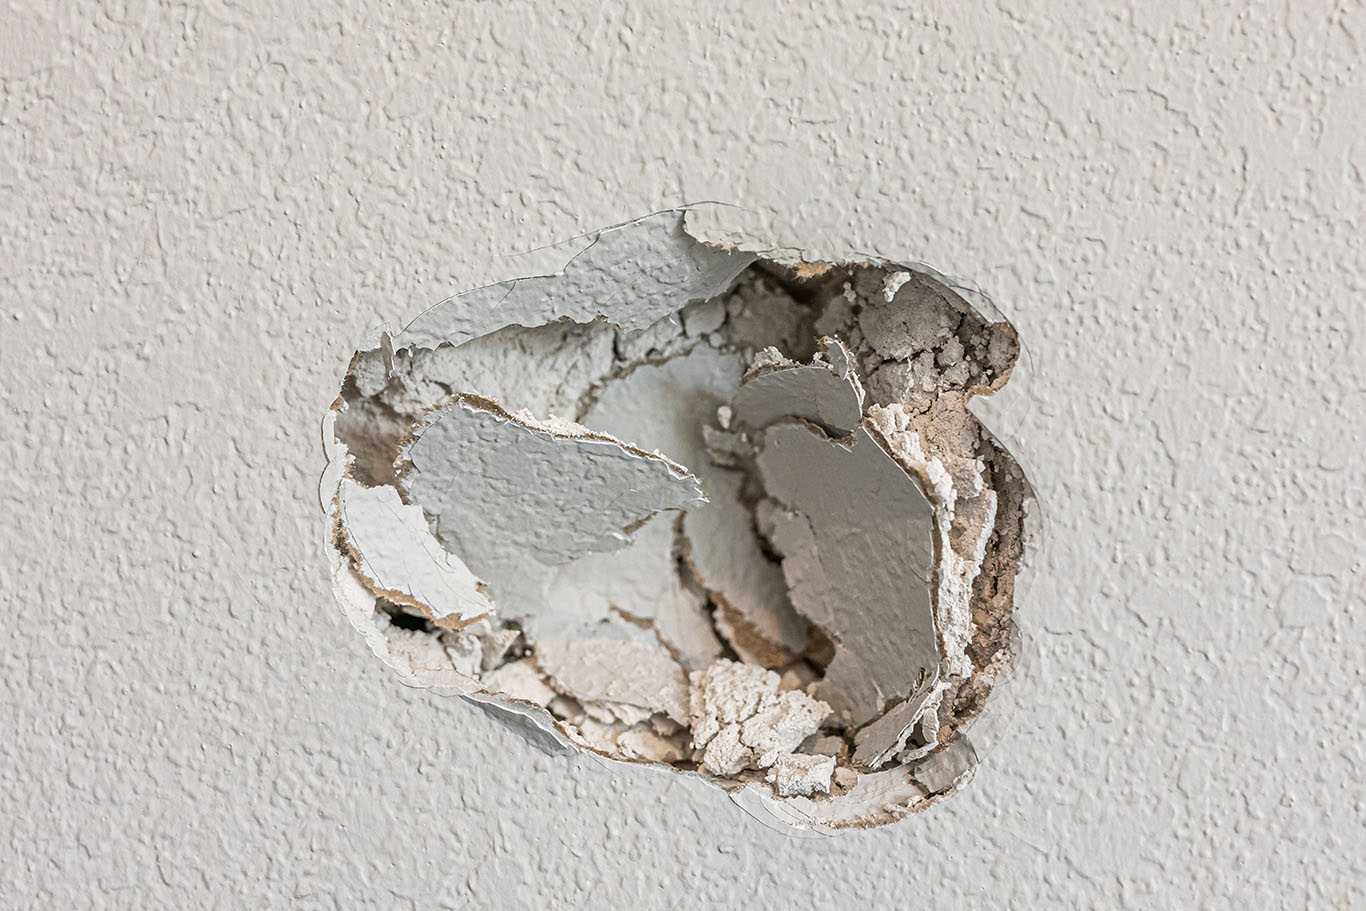
How to repair a large hole
Holes larger than 4 inches can be repaired, but you must use drywall. This repair will require you to cut a section of the existing wall.
Needed Materials:
• Stud Finder
• Drywall Saw
• Utility Knife
• 6in Drywall Knife
• *12in Drywall Knife
• Carpenter Square
• Self-Adhesive Fiberglass Drywall Tape
• Pencil
• Drywall
• Lightweight Spackle
• Low Grit Sandpaper
Holes larger than 4 inches can be repaired, but you must use drywall. This repair will require you to cut a section of the existing wall.
To begin, you will need to cut the electricity off in the room. Using a stud finder, locate the studs around the hole. Most electrical wiring is secured next to the studs; mark their location to avoid causing any further damage when cutting.
With a carpenter square and a pencil, draw a square around the hole. You will need your square to extend beyond the hole 1 – 1.5 inches. Be sure to take into consideration the location of your studs.
Using a drywall saw, slowly cut along the lines of your drawn square stopping before you reach the studs. From the edge of the stud, measure, and mark ¾ inch toward the center of the stud. Using your utility knife carefully make shallow cuts along your new line until you have carefully cut though the drywall without harming the materials underneath. The goal is for the studs on either side of the hole to be partially covered by your new dry wall piece and the other half covered with the existing wall. Blending these two pieces together ensures full support and helps hide the seam repair. Continue working until you have fully removed the square.
Using a 1x3 scrap piece of lumber or a piece of ¾ plywood, cut a square that is 2 – 4 inches longer than the hole. Insert the board into the hole, adjusting until the board is centered in the hole. Secure the board in place using drywall screws. This step will ensure that the new drywall is secure, preventing cracks.
Using the square of removed drywall, trace a square onto a fresh 2x2 sheet of drywall. Carefully cut out the new square using a utility knife. Place the new square over the boarded hole. The new piece of drywall should fit into the hole securely without force. Trim the edges if needed to ensure proper fit. Secure the new drywall piece to the stud using drywall screws approximately 1 inch from the edge. Placing the screws toward the center 1’ from the edges will prevent the drywall from crumbling. Make sure all screws are secured just slightly below the surface of the drywall.
Cover the seams of your square with self-adhesive fiberglass tape; make sure the tape is centered to fully secure and hide seams. Spread lightweight spackle with a 6in drywall knife until smooth. Allow to dry according to manufacturer’s instructions, sometimes up to 24 hours. Apply a second coat. Make sure you allow a second full drying time before proceeding. For an ultra-smooth finish, apply a 3rd coat of lightweight spackle with a 12-inch drywall knife. Allow it to thoroughly dry for a third time. Using a low grit sandpaper and a circular motion, sand until smooth. Wipe away any dust. Paint.
Repairing drywall from small cracks and nail holes to repairing large holes with fresh drywall, at Anastasia Painting we can assist you with all your interior wall needs. Call us today to schedule an in-home consultation! 904-540-5246.
Call Anastasia Painting today for an estimate on your next painting project at 904-540-5246.